Показаны сообщения с ярлыком card. Показать все сообщения

2023-03-05

EASTER CARD FOR PAWSOME STAMPS

Hello, friends! It's time for my new card on the Pawsome Stamp BlogI love mixing and matching stamp sets. I think that it gives us a look at the usual set of stamps from the other side. So here I used an Eggcellent Cupcakes stamp set with a Loving Thoughts stamp set.


I stamped two elegant bouquets, covered them with pre-prepared masks on top and made an ink blended background. Then I removed the masking paper from the bouquets and colored all with my Copics.


Next I stamped three eggcellent cupcakes in a black hybrid ink and colored them all with copic markers. I cut out the images with my scissors (you can find the dies here). And I added the cupcakes to my ink blended background with foam tape. To decorate the card I glued some crystals. That is all!


Thank you so much for stopping by!

2023-02-15

PAWSOME STAMPS SNEAK PEEK DAY 5

Hi there, friends. 
Today I want to share with you this card with new beautiful Loving Thoughts stamp set from Pawsome Stamps.


First, I stamped and colored this bouquet with copic markers. Then I made highlights using white gel pen. Next I took two panels of white cardstock. And I cut out a window in the upper panel. I inked the lower panel with Speckled Egg Distress Oxide Ink and Uncharted Mariner Distress Ink. I added some white splatters. Next I made a shaker using my upper panel and  the lower panel together. Filled it with some sequins.


Finally I placed all the elements on the shaker panel.


Thank you so much for join me today, have a great day!

2023-01-21

TWO MINI CARDS FOR PAWSOME STAMPS

It’s time for my next inspiration with Pawsome stamps amazing products! I wanted to do something special for my today's post. And I decided to do an extra mini cards in non-standard form. Here I used my favorite Happy Camper stamp set. And as a form for mini cards, I took the form of a large image of a camper. This looks very cool and is very easy and convenient to cut.


As always I prepared all the details, colored the images with my Copic markers. And I die cut out all images using the Happy Camper | Die Set. I also used the sentiments from the Spring Day stamp set.


Finally I added all the images and the sentiments to the card bases with foam tape. I made the bases in the form of a cards, so you can write a small wish inside. I cut them out with a coordinating die in a partial die cutting technique.


Thank you so much for stopping by!

2023-01-13

BIRTHDAY CARD WITH MONSTERS FOR THE PAWSOME STAMPS

Hello  friends! I am here with my first post for the Pawsome stamps this year. I think the Monster Party is probably my favorite set. What makes these monsters especially lovable and fun to play with is the way they are all have different poses. So I decided to make a card on Birthday theme. 


I stamped a bunch of these super fun monsters in a black hybrid ink and colored them all with copic markers. Next I die cut the images with the Monster Party die set. I also wanted to give candy in the hands of my most beloved character. So I used masking paper for this. On a separate piece of white card stock, I also made a colorful background. 


I added the monster images to my ink blended background with foam tape. And I used some other dies to create the letters HB2U. Next I placed the letters on the panel too. All finished!


Thanks for joining me today and I hope this card brings a smile to your face!

2022-03-04

C. C. DESIGNS MARCH RELEASE BLOG HOP

We are celebrating the arrival of 4 NEW stamp sets and an amazing layering scallop circle die. The Design Team has been giving you previews all week and now we are sharing our BEST creations to inspire you to shop and create with C.C Designs!


Hop along for your chance to WIN one of two $15 G.C to the store! We will pull one from Instagram and one from the blog comments. 


You should have come from the “Cindy Beland” NEXT UP is “Kerri Boucher

Meghan Kennihan @MadebyMeghanK
Emma Ireland @emmascraftycards
Cindy Beland @cindy.beland
Olga Moss @olga_moss < - - - -  you are here
Kerri Boucher @kerri1974mar
Cristena Bagne @copictopia
Cari Scharping @creaturecomfortcards

To enter:
1. Subscribe to the Design Team Blogs, Instagram, & YouTube Channels
2. Leave a Comment
3. Tag your friends for bonus entries
Entries will be accepted until Wednesday March 9th, Winners will be announced on the C.C Designs Blog and FB Page on Friday March 11th.

2022-02-21

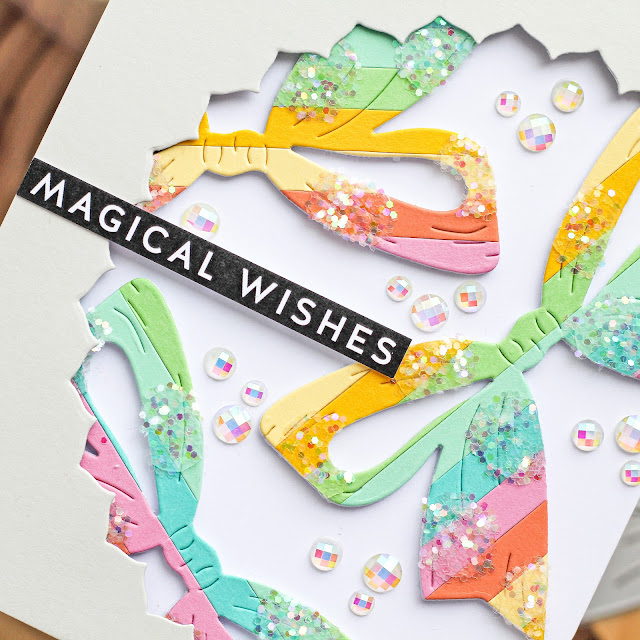
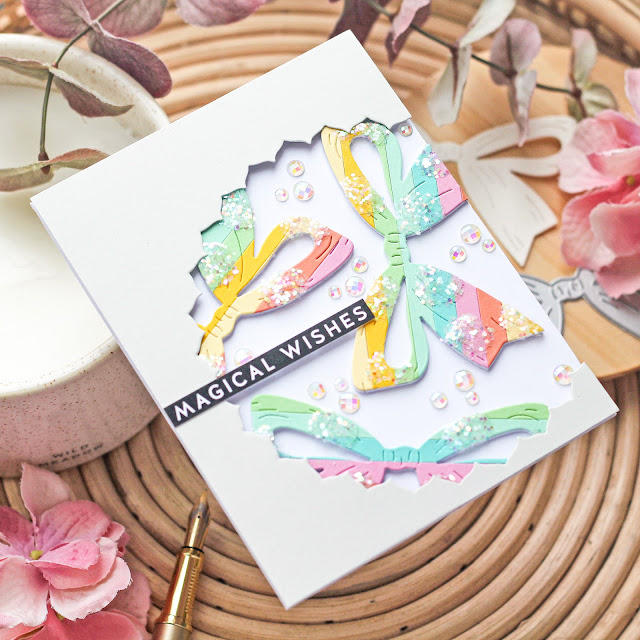
CARD WITH THREE BOWS FOR THE SCRAPPY TAILS

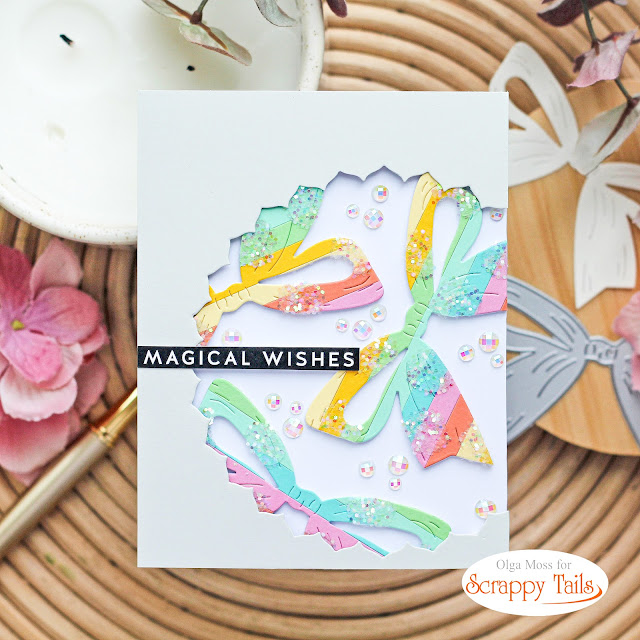
Hello friends! This is my new card for the Scrappy TailsHere I combined two die set from their last release, and it gave rise to my imagination!


To start I cut out the panel from the grey cardstock and die cut an intricate saucer using 
A7 Coffee Mug Valentine Add-On Metal Craft Die. I'm going to use the silhouette left over after cutting. I also made three bows from colored strips using  the Chocolate Heart Gift Box Metal Craft DieHere I just cut strips of colored cardstock and pasted them close to each other.

To decorate the bows I glued clear adhesive dots from Therm-O-Web and sprinkled on top the glitter. Next I placed my bows to the white card base and covered it with a gray panel. It was charming, wasn't it?


Thank you so much for stopping by!

2022-02-18

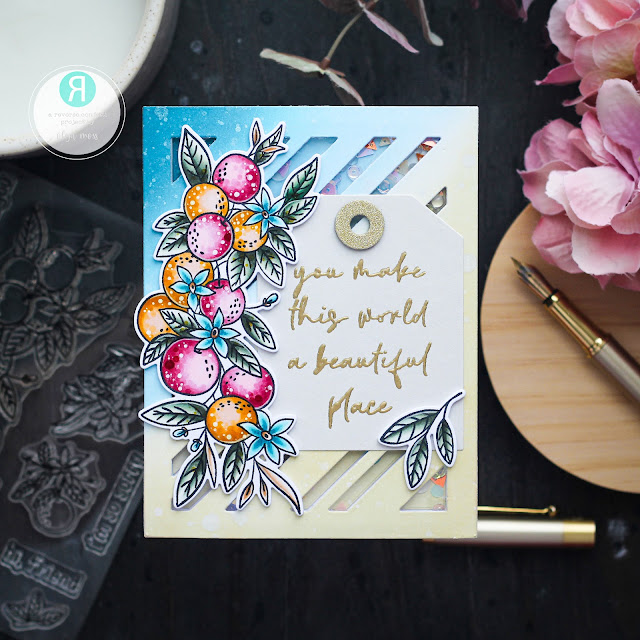
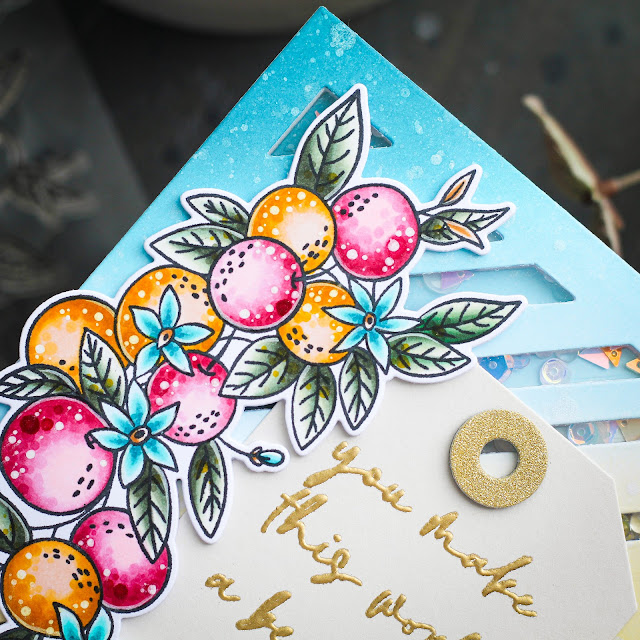
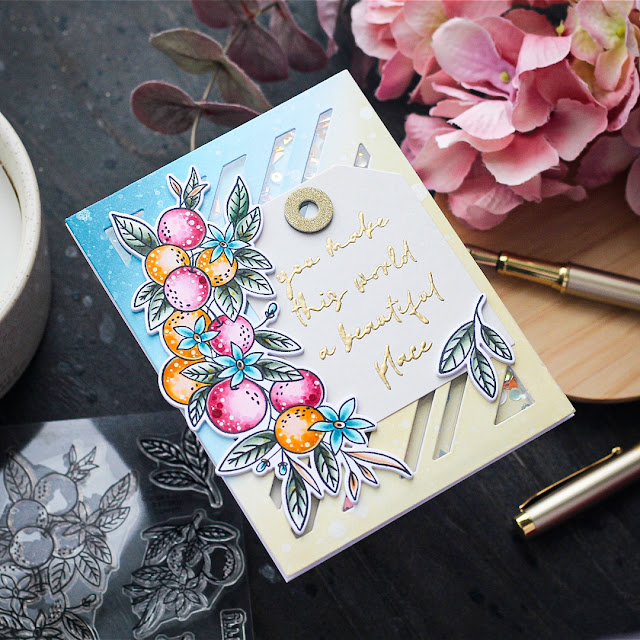
SHAKER CARD WITH BEAUTIFUL ORANGE BLOSSOMS FOR THE REVERSE CONFETTI

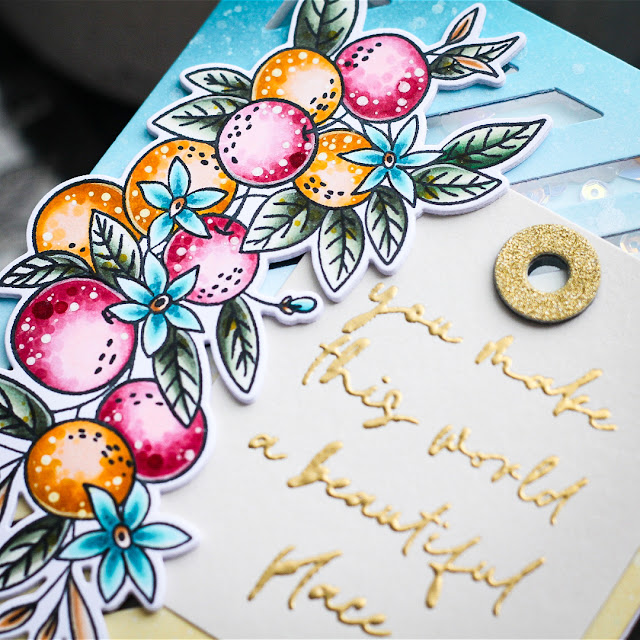
Hi there, it’s my new card for the Reverse Confetti BlogToday I want to share with you this card using beautiful Orange Blossoms stamp set, All Lined Up Cover Panel Confetti Cuts and Lovely Tag Confetti Cuts.


First, I stamped a bounty of beautiful orange and orange blossom images from the Orange Blossoms stamp set. Colored them with copic markers and die cut with Orange Blossoms Confetti Cuts. I made highlights using white pen.


I took two panels of white cardstock. I inked the upper panel with Peacock Feathers, Tumbled Glass and Antique Linen Distress Oxide Inks. I added some white and silver splatters. I cut out a window in the upper panel using All Lined Up Cover Panel Confetti CutsNext I made a shaker using my upper panel and  the lower panel with foam tape. Filled it with some sequins.


I die cut the little tag from grey cardstock using the Lovely Tag Confetti CutsI heat embossed in gold here the sentiment using Scripty Sentiments set. Finally I placed all the elements on the shaker panel.


Thank you so much for join me today, have a great day!

2022-02-08

REVERSE CONFETTI FEBRUARY CREATIVE HOP

Hello and welcome to the Reverse Confetti monthly creative hop!

It’s an off-month so there’s no new release, so it’s the perfect time to play with some older goodies and inspire you to maybe use some stamps you may already have in your stash.

You'll find the full hop list at the end of this post.

I share with you a super romantic card where I mixed many different sets of stamps.


I started by stamping this cute pals from the Rain or Shine set and a few mushrooms and bugs from the Enchanted Garden set using Memento Tuxedo Black Ink Pad. I colored them using Copic Markers. And I cut out them using Rain or Shine Confetti Cuts & Enchanted Garden Confetti Cuts. I added some highlights using white gel pen.


Next, I created a night ink blended background in pink shadesI stuck the little circle die cut from the masking paper to the place of the future moon. It will help when I create the sky. I recommend to use few ink colors for this tipe of the background. The inks will blend and make a very interesting result when they dry. I started with the light colors around the circle. It will imitate the glow of the moon. Then I kept moving to the edges, applying the inks layer by layer. The last layer will be the darkest. Next I sprinkled everything with white and gold acrylic paint. After the paint dried, I removed the mask.
For the next step I needed a Big Love Confetti Cuts. I die cut only a few hearts using  Easy-Cut Adhesive from Therm-O-Web and adhered them onto my card base. I placed them against the background so that it seemed as if they were radiating away from the moon. Then, I removed the protective layer from each heart so that they became sticky and covered them with a sheet of Gold Shattered Glass Deco Foil. I carefully smoothed out the panel on top and removed the film. Now my hearts sparkle with gold. It’s so fun!


The last step was to add my images to the card. Also I stamped the sentiment from the Sentimentally Yours set.


I hope you enjoyed the inspiration I had for you today. 
Thank you for stopping by!

2022-02-04

C. C. DESIGNS FEBRUARY RELEASE BLOG HOP

We are celebrating the arrival of 3 NEW critter stamp sets. The Design Team has been giving you previews all week and now we are sharing our BEST creations to inspire you to shop and create with C.C Designs!


Hop along for your chance to WIN one of two $15 G.C to the store! We will pull one from Instagram and one from the blog comments.

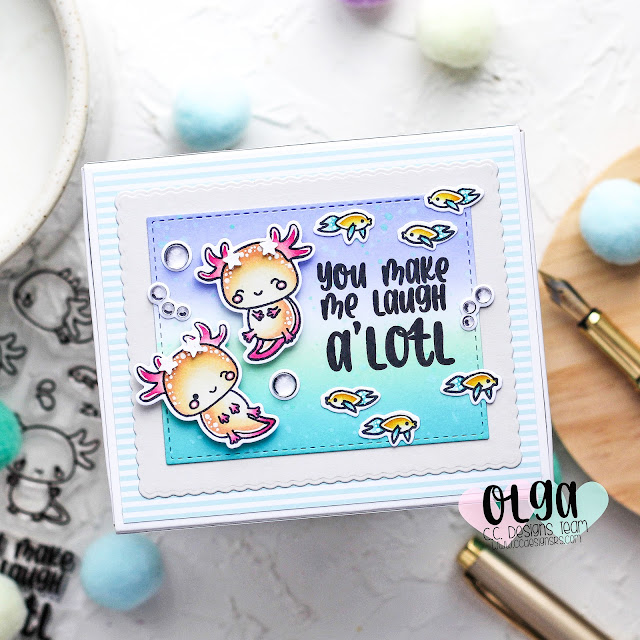
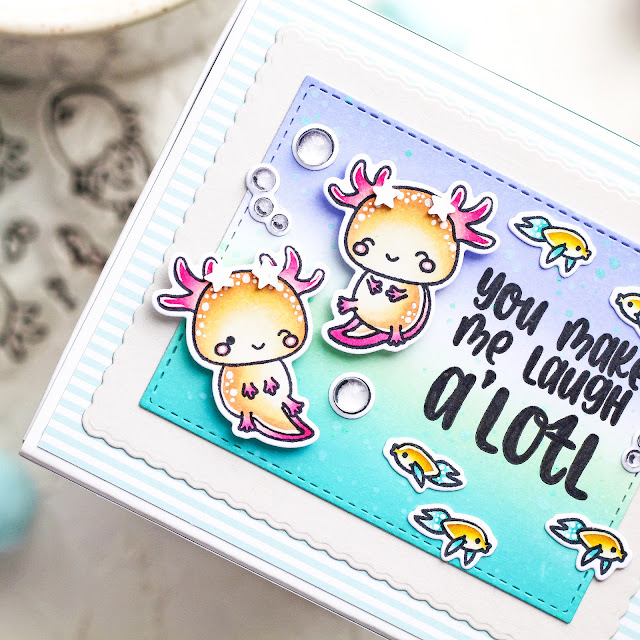
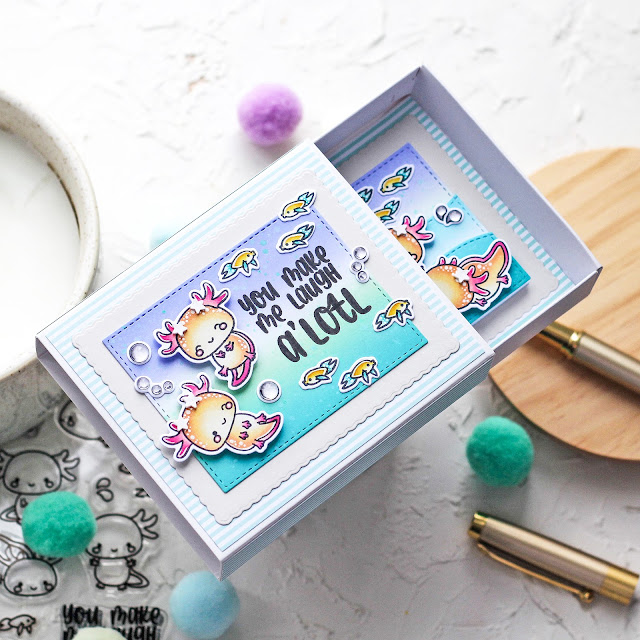
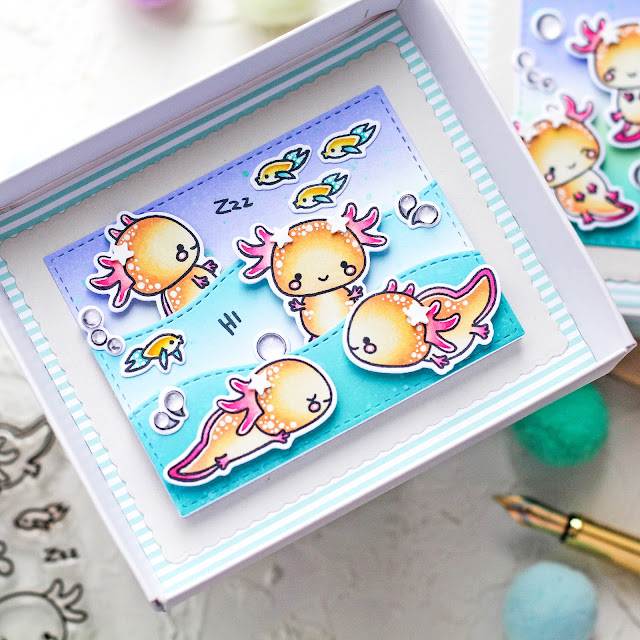
For this day I decided to make this box to create a mini diaroma like scene and it looks so fun!


I stamped and colored several images from the new Axolotl Clear Stamp Set and used the Axolotl Outline Die to die cut them out.


I hand made this box and die cut all the various scenic pieces for my scene with various cardstock scraps. I also create the cover or wrap. I die cut that with some pattern paper and the scallop piece out of light grey card stock and I stamped the sentiment.


After my scene is done, tuck it back in to the wrap that was decorated early and now it’s ready for a recipient!


You should have come from the “Tamara Potocnik” NEXT UP is “Kerri Boucher
 
Here is the full line up:
C.C Designs Blog @ccdesignsrs
Meghan Kennihan @MadebyMeghanK
Emma Ireland @emmascraftycards
Maria Russell @rprmlr77
Cindy Beland @cindy.beland
Tamara Potocnik @handmadebytamara 
Olga Moss @olga_moss - you are here
Kerri Boucher @kerri1974mar
Cristena Bagne @copictopia
Cari Scharping @creaturecomfortcards
 
To enter:
1. Subscribe to the Design Team Blogs, Instagram, & YouTube Channels
2. Leave a Comment
3. Tag your friends for bonus entries
 
Entries will be accepted until Wednesday February 9th, Winners will be announced on the C.C Designs Blog and FB Page on Friday February 11th.

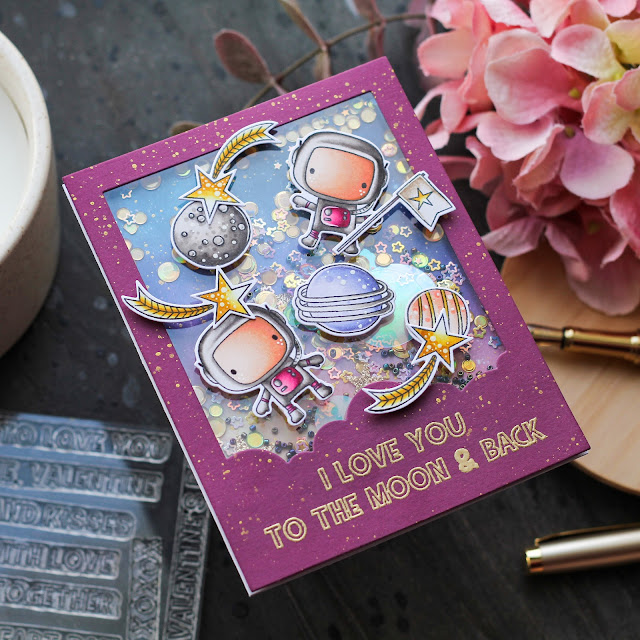
SHAKER CARD WITH MOON MEN FOR THE REVERSE CONFETTI

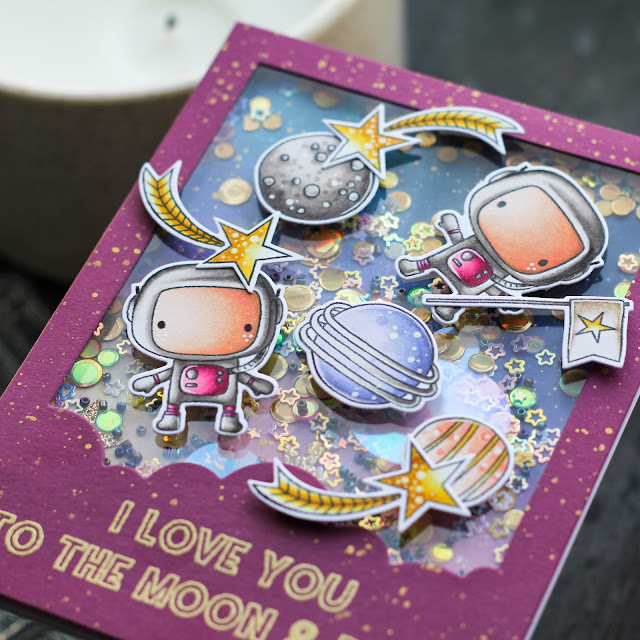
Hello, friends! I am on the  Reverse Confetti Blog with my new card. It's all about love this time. So why not to create a cute card about endless love with wonderful moon men? 


I stamped the images from Moon Men stamp set in black hybrid ink and colored them with my alcohol markers. Next I die cut the images out with the  Moon Men Confetti Cuts


Next I made a space background. And I die cut a panel with a scalloped cloud line and an open center using Head in the Clouds Cover Panel Confetti Cuts from the Grape Soda Cardstock.


Once that was done, I heat embossed the sentiment from the Words of Love stamp set in gold and I made a shaker. And I placed the images on the shaker panel. All finished!


Hope you enjoyed the products featured in today’s post!
Thanks so much for stopping by!

2022-02-03

C. C. DESIGNS FEBRUARY RELEASE DAY 3

It's day 3 of C.C. Designs previews for February release. 
They have three new set this month. 
Today’s project will be showcasing the new set called Cat Kinda Day Clear Stamp Set.
 This insanely adorable set features several cats as they enjoy their favorite things. 


I stamped several of the images from the stamp set and colored them up with copic markers. I then used the Cat Kinda Day Outline Die to die cut the images out.


I created an indoor background through ink blending by using washi tape for masking and a simple stripe stencil. This easily created a place where I can place my critters. 


I selected a sentiment from the Simon Says stamp and placed it in the top center portion of the card. The images were propped up with some foam tape for a little extra dimension, and that completes this sweet and simple scene card!


Tomorrow we will have our blog hop, so make sure to check back on Friday.
Thanks so much for stopping by!

2022-02-01

C. C. DESIGNS FEBRUARY RELEASE DAY 1

It's day 1 of C.C. Designs previews for February release. 
They have three new set this month. 
And the first one is  Axolotl, this little cutie is an endangered salamander from Mexico. 


I created this super fun card with a huge message "SMILE" and the most adorable axolotls.  And I really hope you like them!


 I stamped and colored up the images from the new Axolotl Clear Stamp Set and used Axolotl Outline Die to cut out all the images.


Then I created the background. To do this, I took a piece of white cardstock and only shaded the blue and purple colors.


And I used some other dies from MFT to create the letters SMILE and the panel of waves. Next I placed the images and letters on the panel. All finished!


Be sure to visit C.C. Designs  blog, where you will find a lot of inspiration for using new products and come tomorrow on the C.C. Designs blog to see the new Grouchy Pets Set.